
We had so much fun last time, that we wanted to do it again, this time at H's house. She had learned her icing and decoration skills when working for the American Ambassador in Fiji way back when - it's the way his wife spent her Saturdays. As you do, ha ha. Lucky us, we got to learn her skills too.
We each baked a cake and brought it along uniced, however mine was iced because I wanted to learn how to do a character cake. Here is the table H had prepped for our arrival, and I'll show you the cakes in turn too.

She had laid out her large set of Wilton icing nozzles, her old but faithful Wilton icing colour set, a ruler, disposable and re-useable piping bags, a Wilton angled spatula and I can't recall what else. And before you wonder, no I don't have a deal with Amazon or Wilton, but I thought these links would let you see exactly what I mean.
So here, in no particular order, are the cakes we baked and all took turns in icing. Yep, that's right - we each took turns icing sections of each cake, so that we could practice the skills and correct any mistakes. So you'll notice that the icing isn't tidy and uniform all the way around the cakes. Sorry.

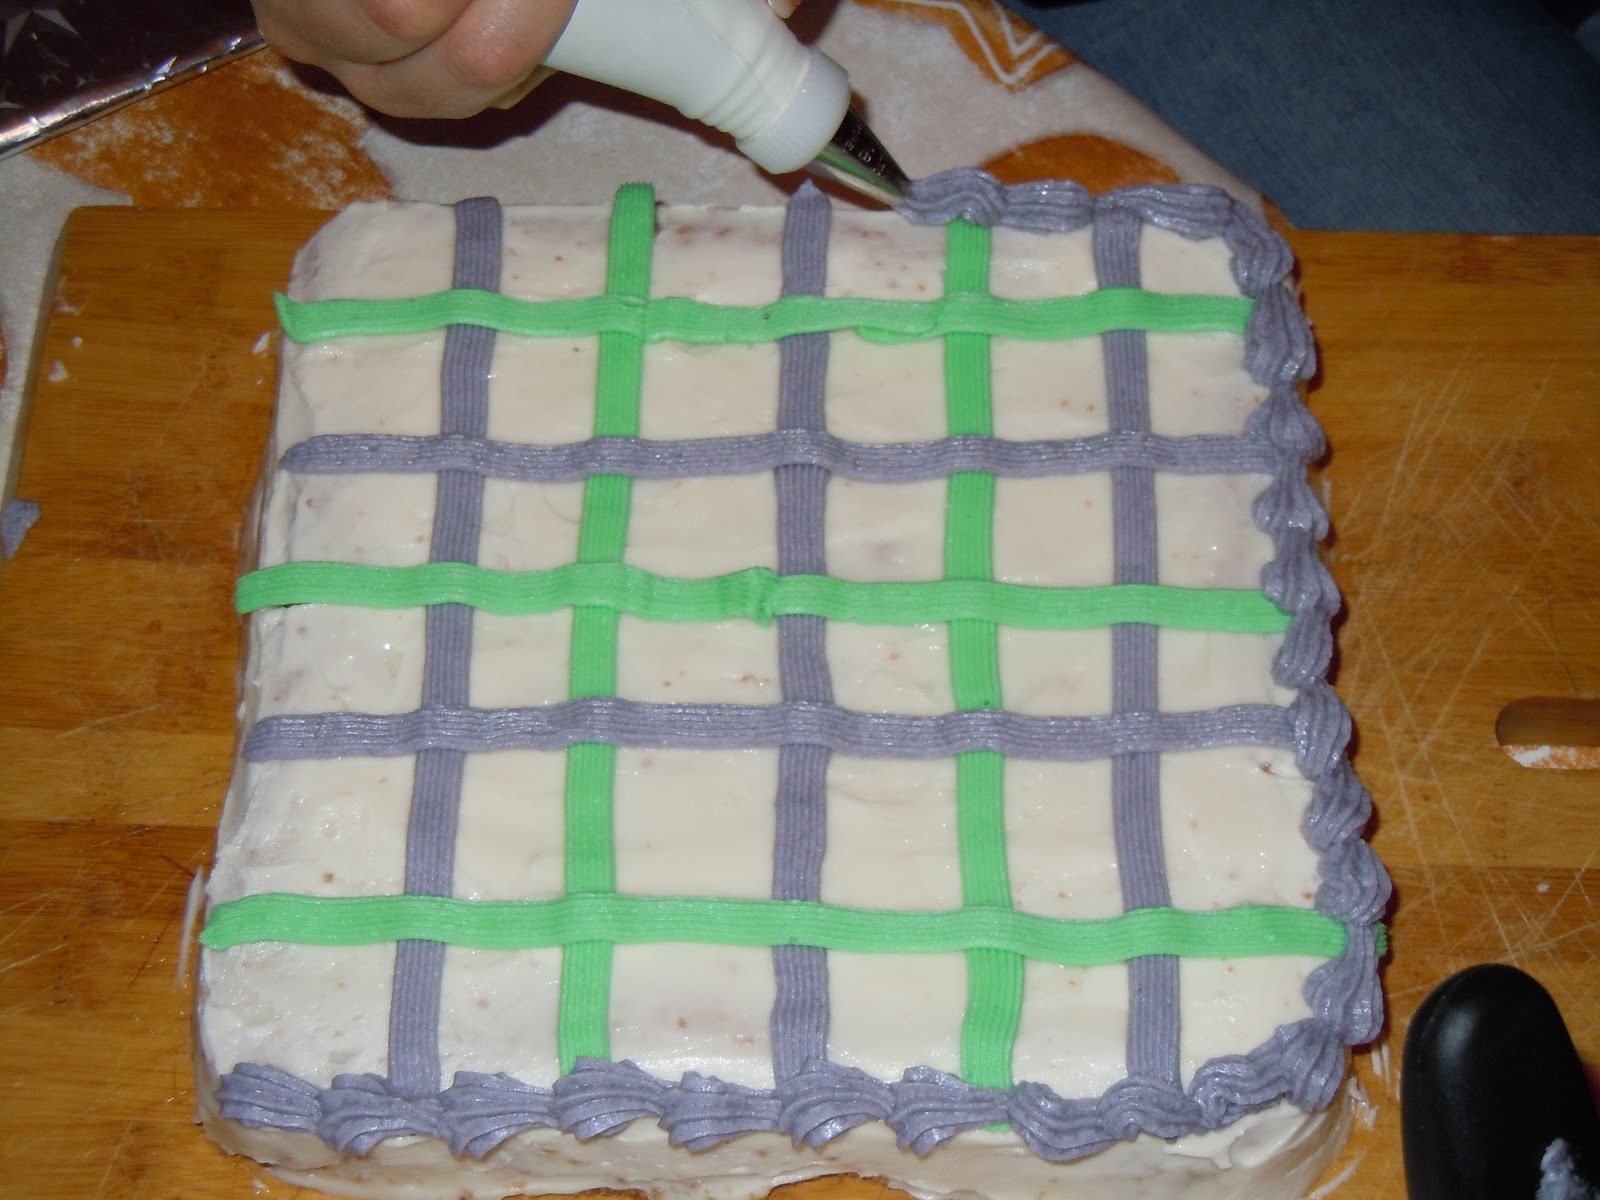
We practiced using a flat line nozzle that was serrated on one side, and using a coupler with the nozzle so you could change colours and bags easily.
Now we tried shell borders, with mixed success.
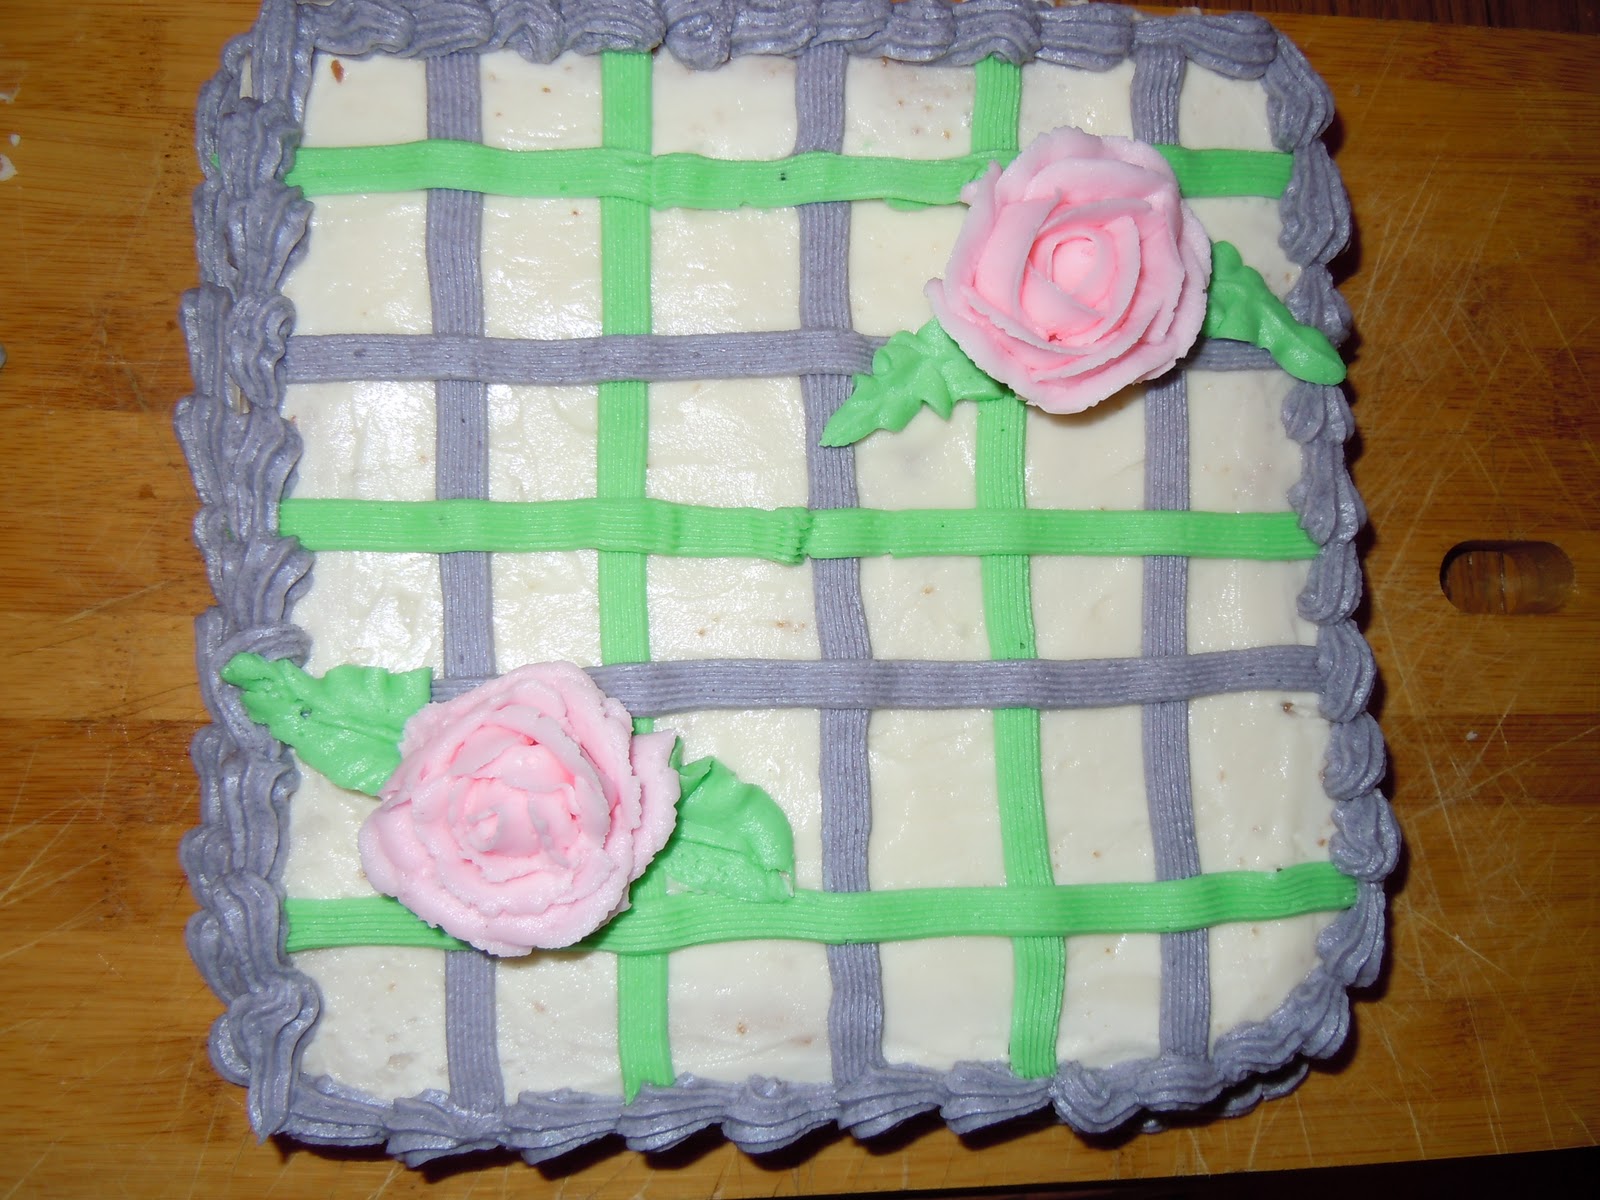
And finally, we tried buttercream roses and two types of leaf nozzle. It's kind of pretty, right? ha ha.

Here we're learning to do a transfer onto the cake of a character, using a pin to prick out the shape. Then you fill it in with a fine writing nozzle, and then use a closed star nozzle (sorry, but I don't own either of these types of nozzle so can't tell you the number. Perhaps if H reads this blog, she could comment below with the correct nozzle numbers...) to fill in the shape. It's not a great rendition of Mickey Mouse's head, but it's recognisable.


And here too we have the addition of buttercream roses and leaves. They'll appear on pretty much every cake, as we were excited to do something different and new, and were pleased with our efforts.

Here we are learning basketweave icing. It looks impressive when done neatly and consistently, and we all tried really hard to make it work, ha ha.

From this angle you can see we also learned the rope border technique, and used a press (to make the dots like the pinprick technique showed us) to show the shape over which to use a writing nozzle to make the dots for the heart. And, of course, the ever-present roses and leaves.
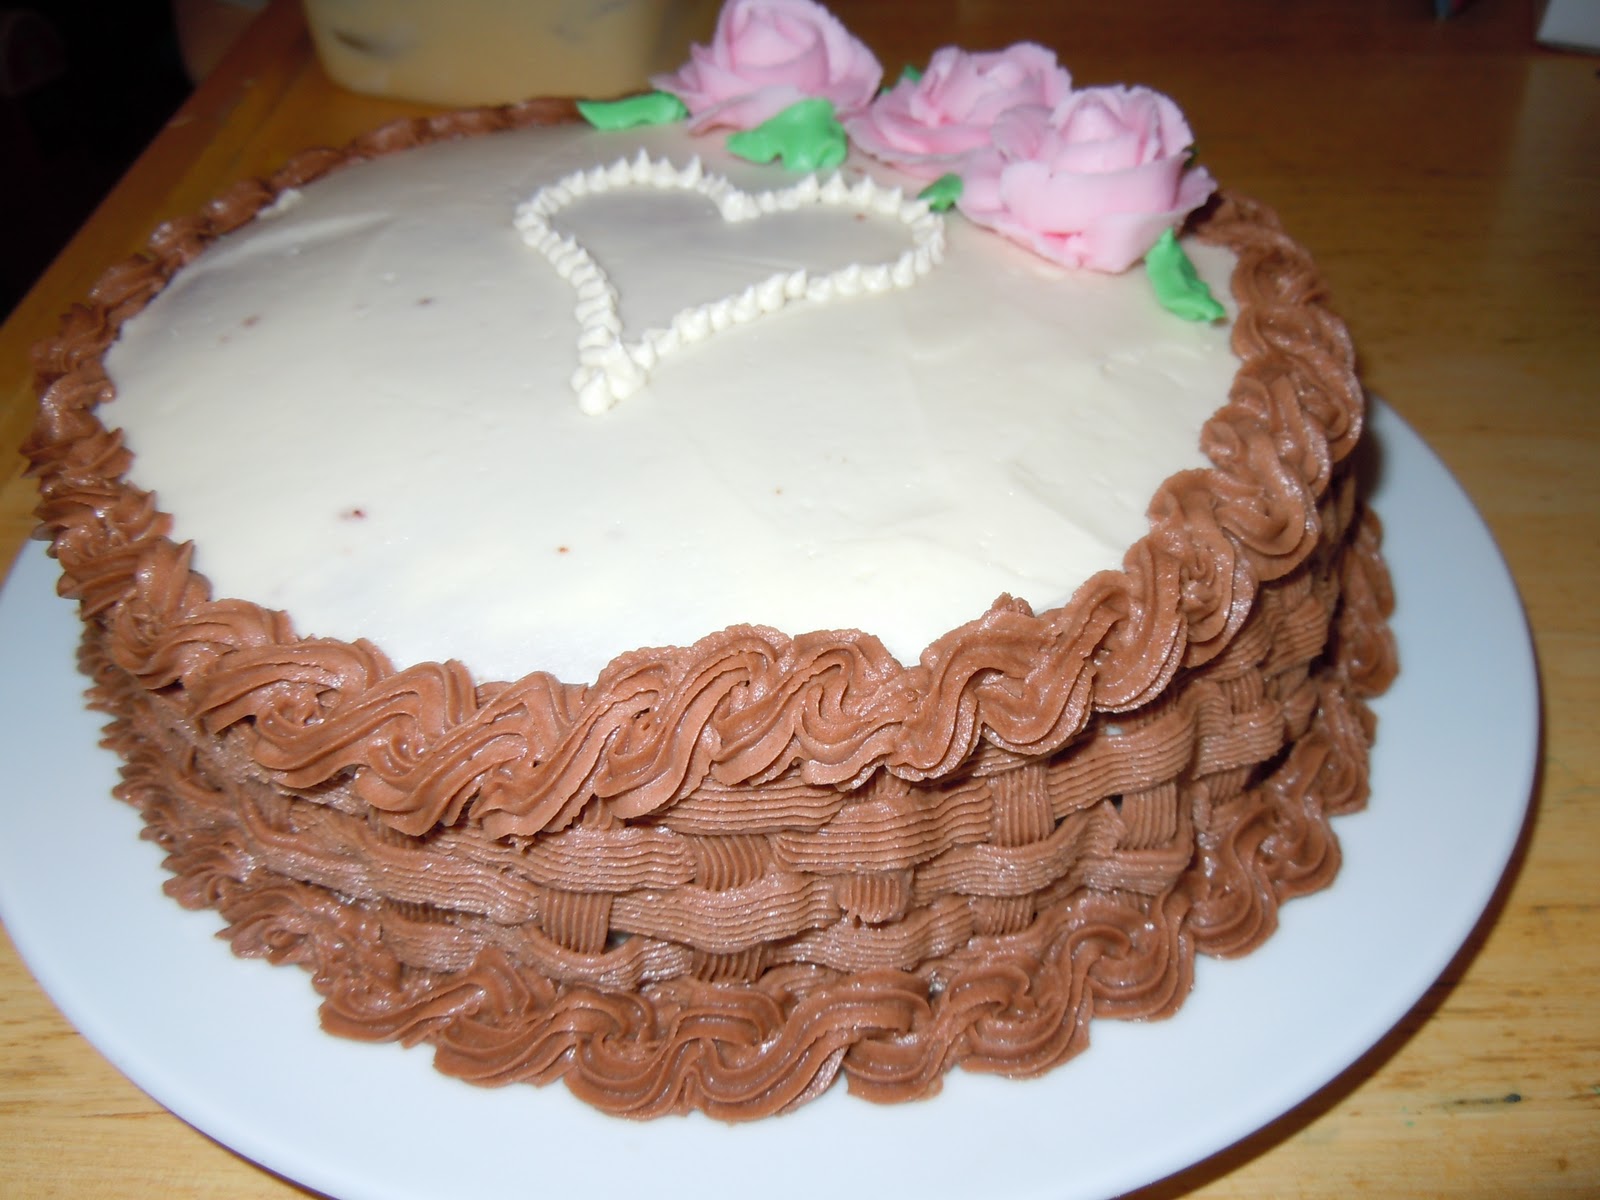
Do you think it looks a bit like a rattan basket??

With this cake, the baker learnt how to ice around corners, and is going to stick to round cakes from now on. We also practiced with the serrated lines, and another style of press but using lilac icing this time.

Here we practiced shell borders again.

This one was fun, and hard to do wrong. Called Cornelli Lace, the idea is to wiggle about with a writing nozzle and fill up the space without letting the lines touch or cross over. We all had a try, then did some shell borders. Then, as it was a school night and getting ever closer to midnight, we called it a night. However, the next morning our hostess H and her young daughter 'fixed' the cake and added a princess and some pink...

No comments:
Post a Comment
If you have enjoyed reading this post, feel free to leave us a comment, and why not check out some of our other posts :)